
Learn how to use Datadog to automatically keep status of your Golive environments up to date
Integrate Golive with Datadog Synthetic Monitoring
Datadog Synthetic Monitoring allows to easily check availability of your applications.
Learn more: https://docs.datadoghq.com/synthetics/
In this section, you will learn how to configure Datadog in order to automatically update the status of Golive environments when an alert or a recovery event is raised by Datadog
Ensure to have installed version 9.6.4 (or higher) of Golive
If you do not have an existing Datadog account, you can easily create a free account to perform this tutorial: https://app.datadoghq.com/signup
Connect Datadog with Golive API
Datadog will be the master system in charge to notify Golive when an environment is up or down. In order to do that, we must setup a connection between Datadog and the Golive Rest API. This connection will be used to update status of the Golive environments that are monitored by Datadog.
STEP 1 Open the Webhooks configuration page
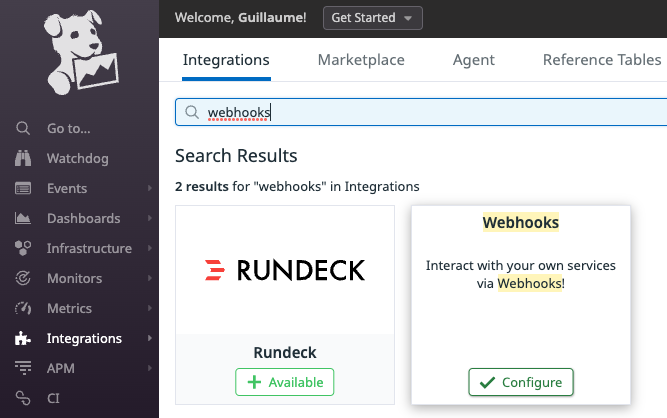
Go to “Integrations” section and search for the “Webhooks” integration:
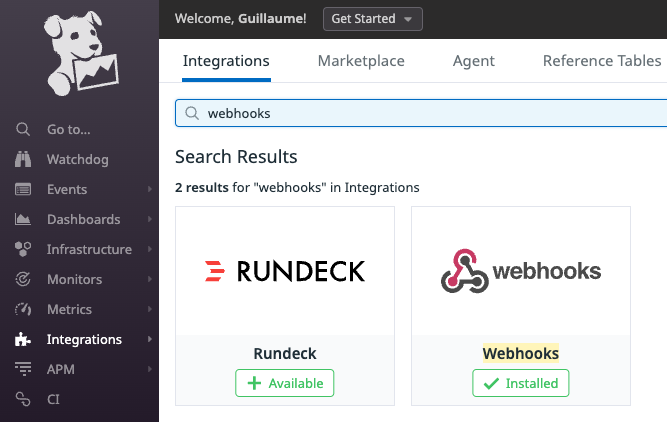
Select the “Webhooks” integration and click on “Configure” button to configure a connection with Golive:
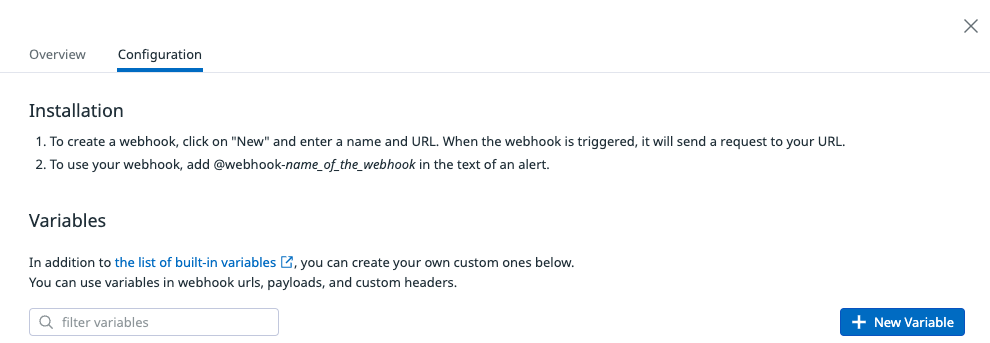
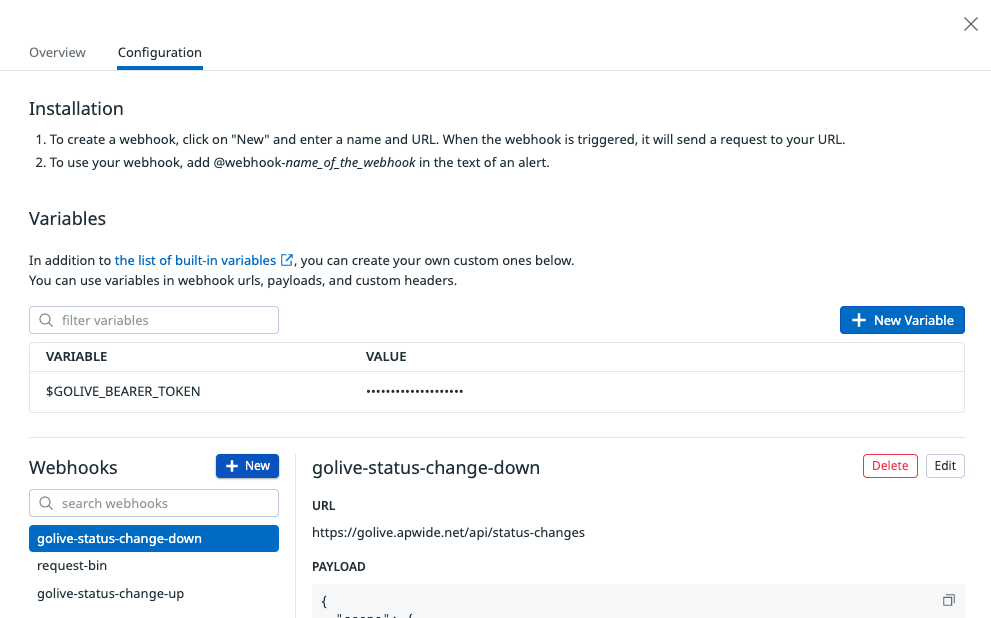
STEP 2 Create a variable to store the Golive credentials
Create a new variable to store the credentials that you will need to connect to Golive REST API:
-
Click on “New Variable” button:
-
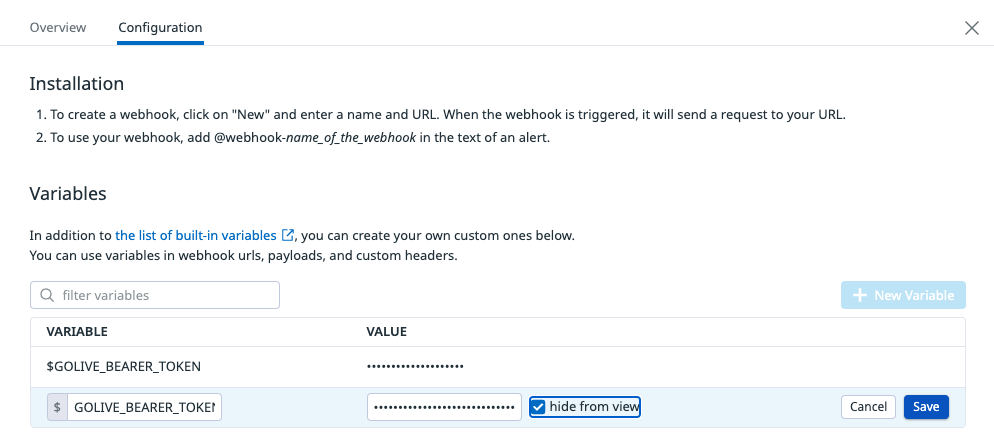
name the new variable “GOLIVE_BEARER_TOKEN”
-
prepare a new Bearer token that will be stored as “VALUE”
-
generate a new Golive API token and paste it in “VALUE” field
-
Type “Bearer “ in front of your token in “VALUE” field
-
your Bearer token must respect this structure:
Bearer your_pasted_api_golive_token
-
-
check the “hide from view” option:
-
Click on “Save”
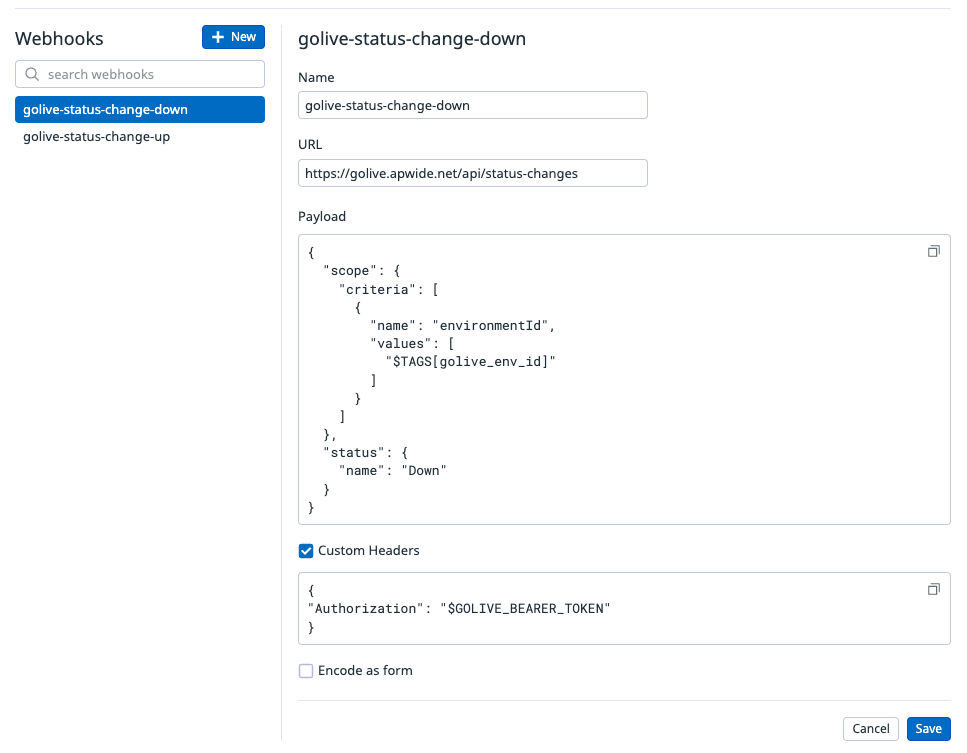
STEP 3 Configure a webhook to mark Golive environments as “Down”
Create a new Datadog webhooks to be used when a Golive environment status must be set to “Down”
-
Click on “New” to create a new webhook:
-
Choose an explicit “Name”, for example: “golive-status-change-down”
-
use the following endpoint as “URL”:
https://golive.apwide.net/api/status-changes
-
use the following json as “Payload”:
{
  "scope": {
    "criteria": [
      {
        "name": "environmentId",
        "values": [
          "$TAGS[golive_env_id]"
        ]
      }
    ]
  },
  "status": {
    "name": "Down"
  }
}
-
activate the “Custom Headers” checkbox
-
use the following json as “Custom Headers”:
{
"Authorization": "$GOLIVE_BEARER_TOKEN"
}
-
ensure that “Encode as form” is NOT checked
-
check that your configuration looks like that:
This will work if the default environment status called “Down” exists.
If you have renamed it, change “Down” to your custom environment status name in the JSON payload.
-
click on “Save”
STEP 4 Configure a webhook to mark Golive environments as “Up”
Create a new Datadog webhooks to be used when a Golive environment status must be set to “Up”
→ execute the same action as described in STEP 3 but replacing everywhere “Down” by “Up”¨
You should end with such a webhook configuration:
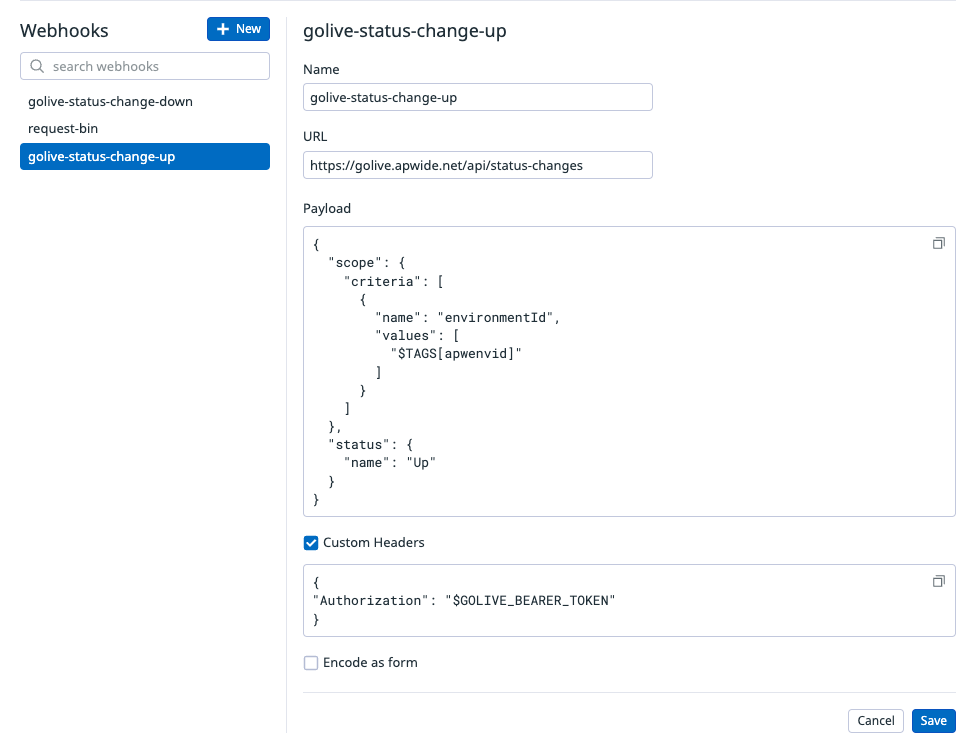
This will work if the default environment status called “Up” exists.
If you have renamed it, change “Up” to your custom environment status name in the JSON payload.
STEP 5 Ensure that the 2 Golive webhooks are properly created
The 2 webhooks created in STEP 3 and in STEP 4 should now appear in your “Webhooks” list:
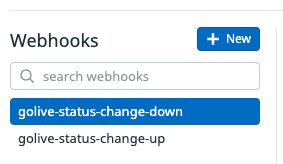
Memorize the name of these 2 webhooks. They will be used in following steps.
Enable monitoring of an Environment
STEP 1 Create a new Golive Environment and get its ID
Connect to Golive and create a new Golive environment that you will use to test this integration.
Learn how to create a new environment here: Clone and Delete Environments
Memorize the id of the environment that you want to use to test this integration.
In current example, the id of this environment is 28.
STEP 2 Create a new Synthetic Test
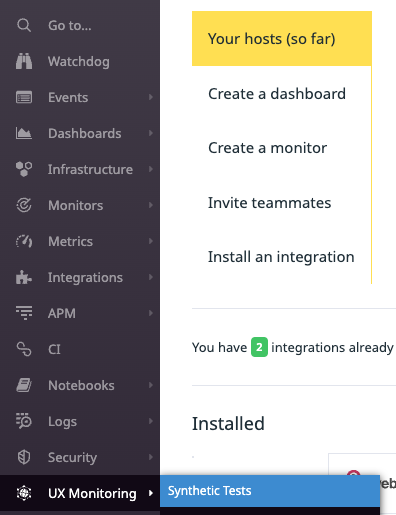
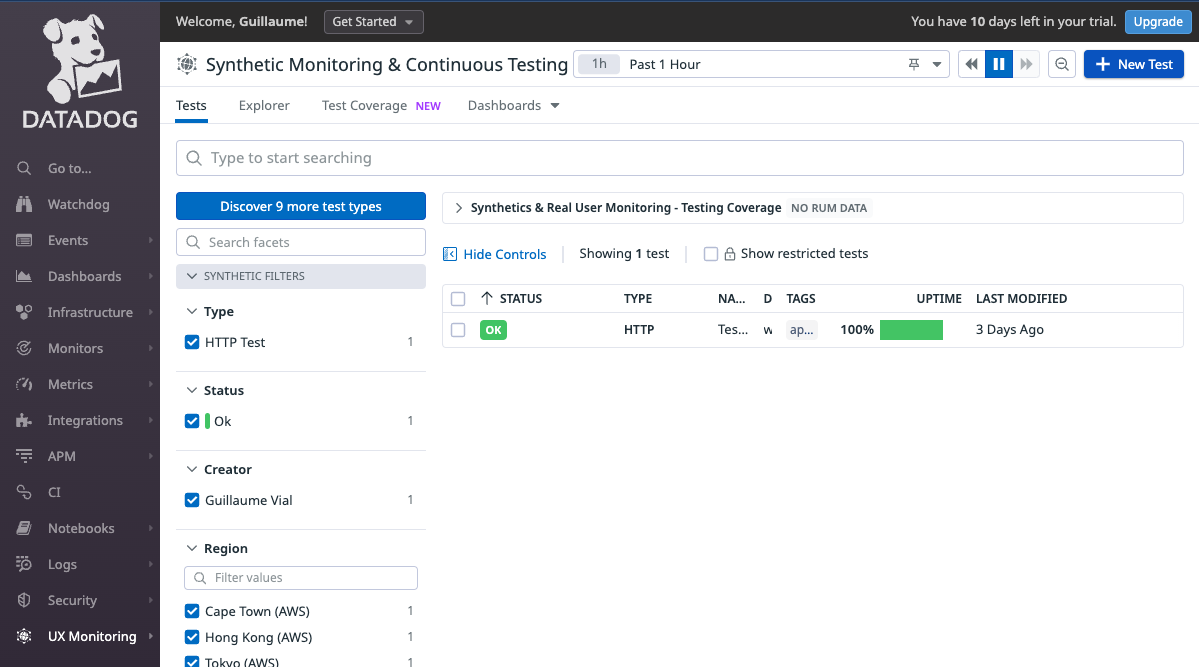
Connect to Datadog, click on “UX Monitoring” and select “Synthetic Tests” in order to create a new url tester:
STEP 3 Create a new Synthetic Test
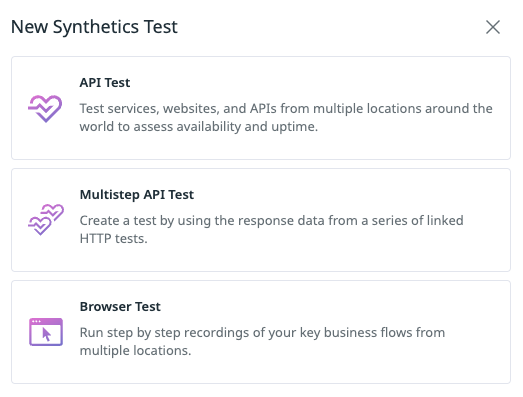
Click on “New Test” buton top right:
Select “API Test”:
Set the url that you want to use to check availability of your environment and click on “Create new Env Tag” button:
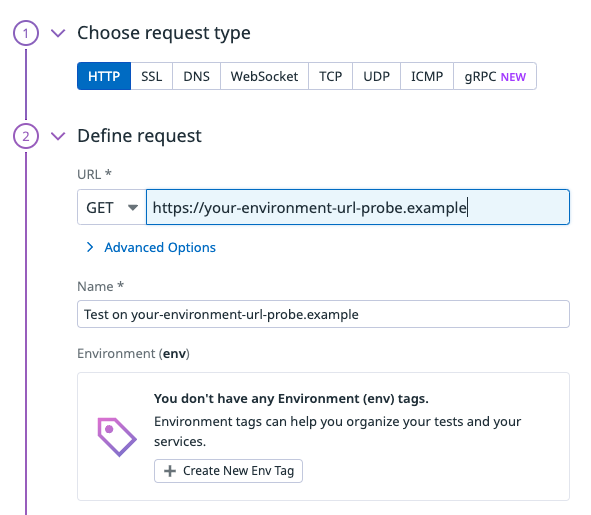
You must add a tag called “golive_env_id” containing the id of the Golive environment that is monitored
Ex: golive_env_id:28 (without space, where 28 should be replaced by your own Golive environment id):
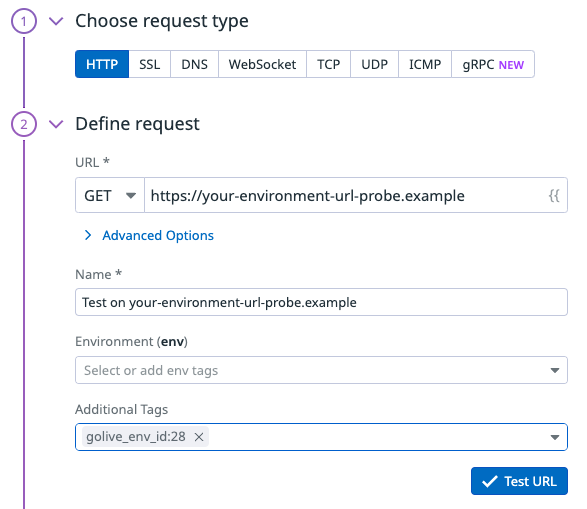
Click on “Test URL” button
STEP 4 Select locations
Click on “All Locations” to select all locations:
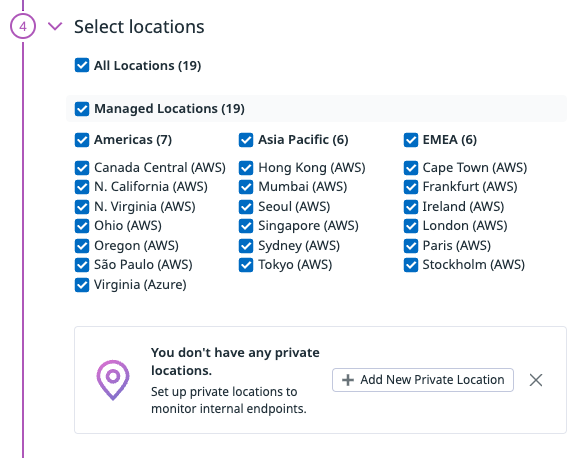
If you want to test an environment that is not directly reachable from Internet, you should configure a “Private Location”: https://docs.datadoghq.com/getting_started/synthetics/private_location/
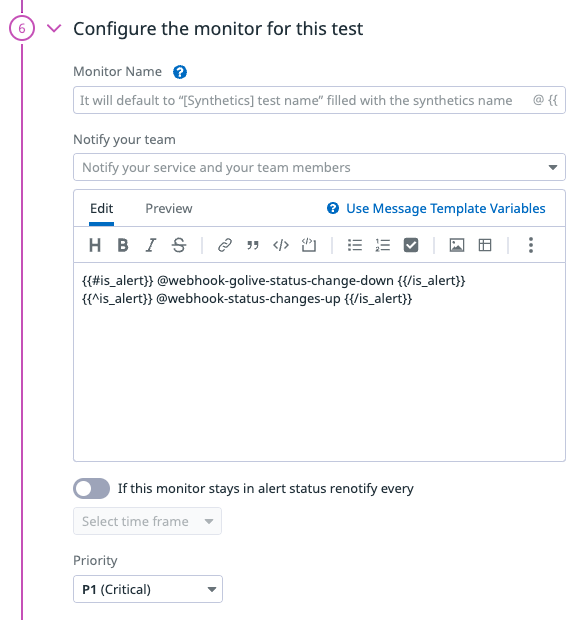
STEP 5 Configure the alert monitor
Let all default setup in the next steps until you enter the “Configure the monitor for this test” step:

Copy the following code snippet:
{{#is_alert}} @webhook-golive-status-change-down {{/is_alert}}
{{^is_alert}} @webhook-status-changes-up {{/is_alert}}
Paste the code snippet into the Template editor and check that you get such a configuration:
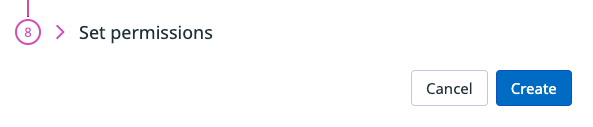
Scroll down and click on “Create” button in order to save your new test:
You have configured your first monitoring of a Golive environment!
You can repeat these steps to create a synthetic test for each of your Golive Environments.
Test your Synthetic Test
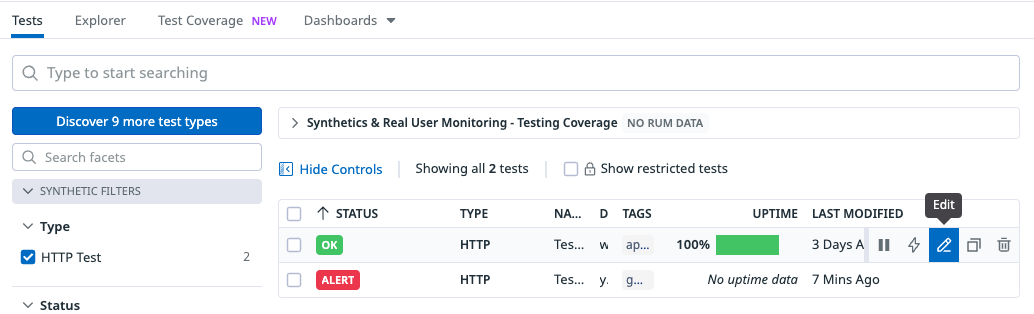
Select the Synthetic test you want to test and click on “Edit”:
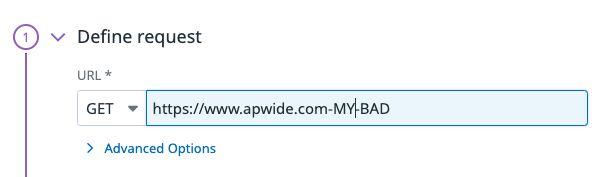
Replace the right URL by a fake one:
Click on “Save” button:
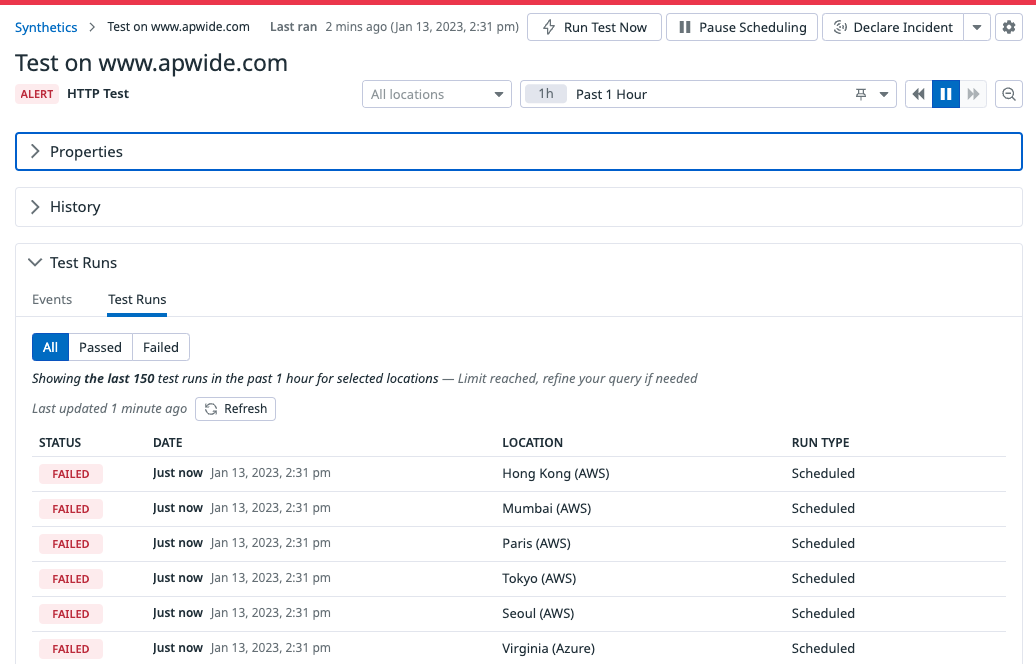
Click on “Run Test Now” button:

Wait for 1-2 minutes, the test should now fail:
Connect to Golive and check that the status of your environment is now “Down” in Golive.
Put back the right URL:
Click on “Save” button:
After a while, check that the status of your environments is “Up” again in Golive.