
Environment Booking & Reservation
The scheduling configuration has been improved as part of Golive 9.23. If you are using Golive 9.23 or a newer version, please refer to the Scheduling Environments section. If you are using an older version of Golive, consider upgrading. Alternatively, you can refer to the documentation below for configurating your environment scheduling.
Context
You have defined your Environments and you would like people to book your Environments for different kind of activities like UAT, demos, technical maintenance, etc.
Prerequisite
Your Environments are already defined in Apwide Golive.
Not yet? Follow our Get started
For this use case, we are relying on Jira core features: Jira issue types, Custom Fields, Workflows, etc.
STEP 1
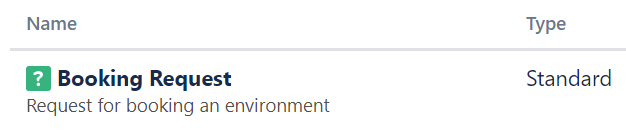
Create a new Jira Issue Type to support your Environment Booking requests
For instance, you can name it “Booking Request”.
Associate your newly created Issue Type with an existing Jira Project, or create a new Jira Project to be used for your Booking Requests (it’s up to you).
STEP 2
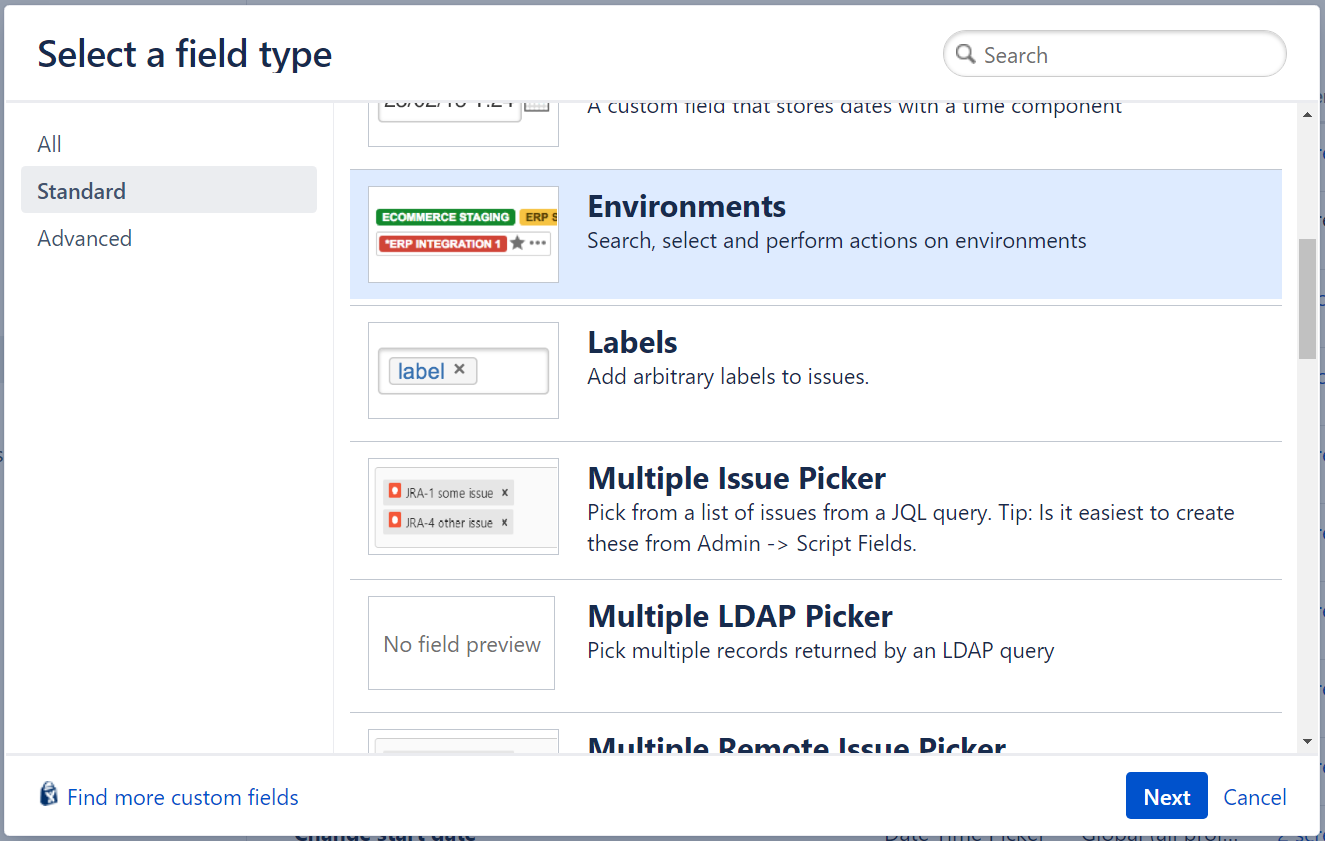
Create 3 Jira Custom Fields (or reuse existing ones)
Custom Field of type “Environment” to store the Environments linked to your Booking Requests. You can name it “Environment(s) to book”
Custom Field of type “Date Time Picker” to store the beginning of your Booking Requests. You can name it “Start time”.
Custom Field of type “Date Time Picker” to store the end of your Booking Requests. You can name it “End time”.
Related Jira documentation:
https://confluence.atlassian.com/adminjiraserver/adding-a-custom-field-938847222.html
STEP 3
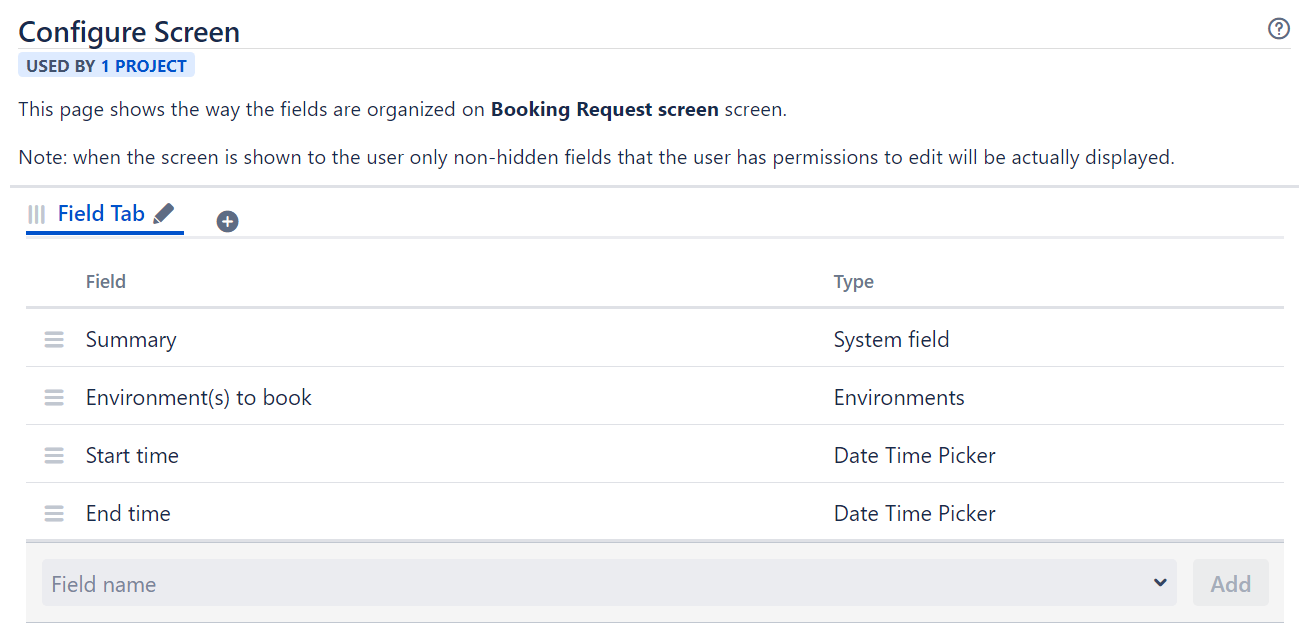
Create a Screen for your Booking Request Issue Type
Add the fields you defined in STEP 2 in your new screen. It should look like this:
Related Jira documentation:
https://confluence.atlassian.com/adminjiraserver/defining-a-screen-938847288.html
STEP 4
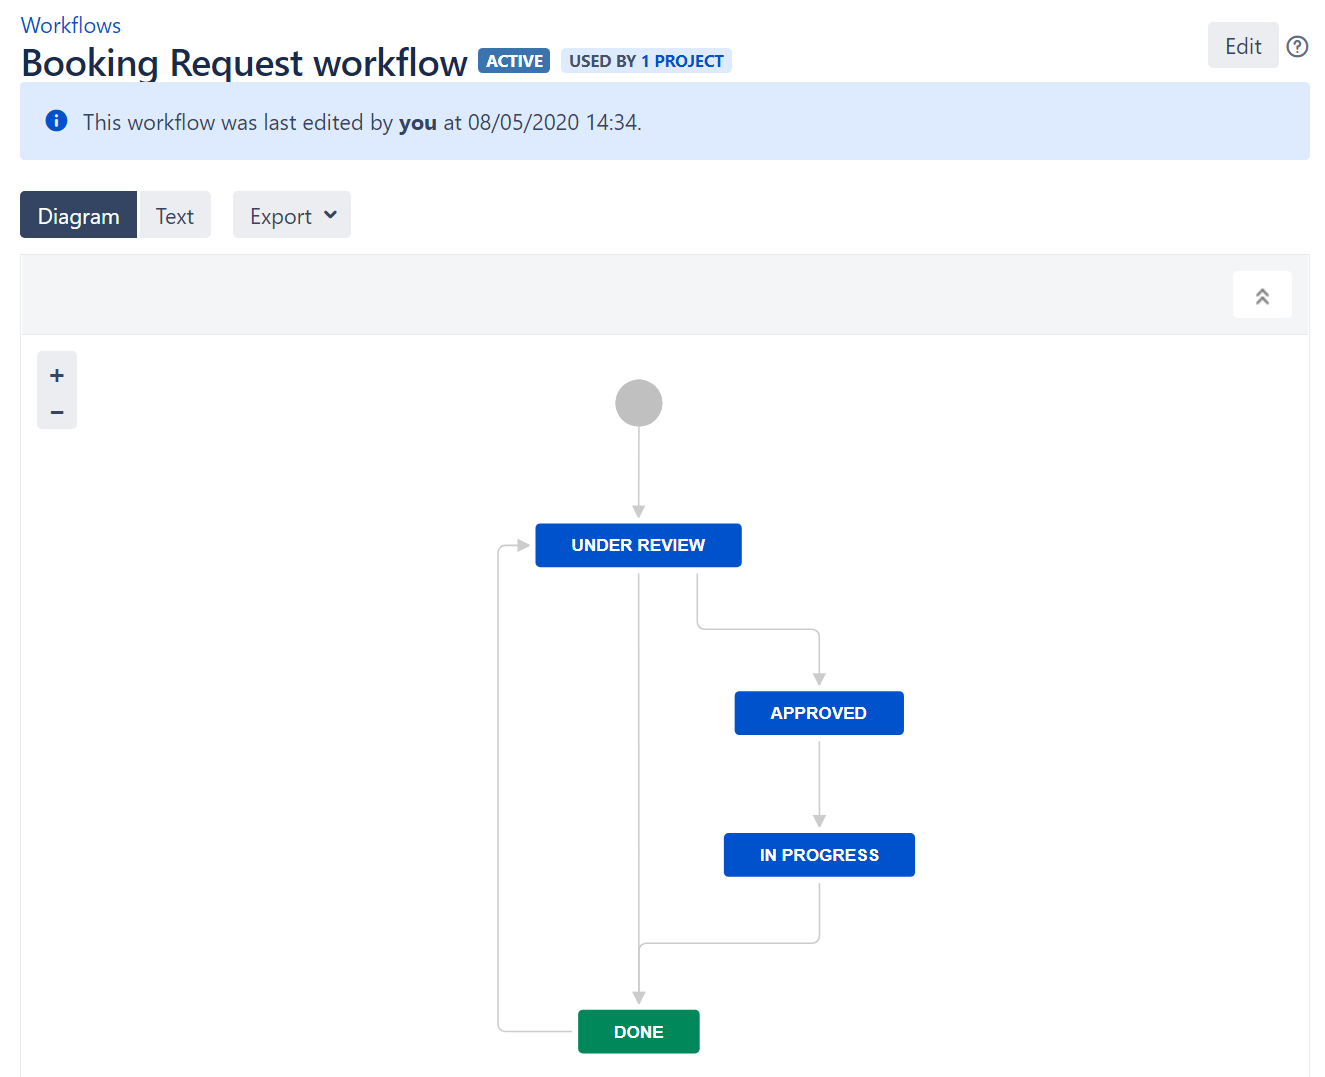
Create a workflow for your Booking Request Issue Type
The workflow is really up to you, you can add as many steps and approvals as you need.
Here is an example of very simple workflow:
Related Jira documentation:
https://confluence.atlassian.com/adminjiraserver/working-with-workflows-938847362.html
STEP 5
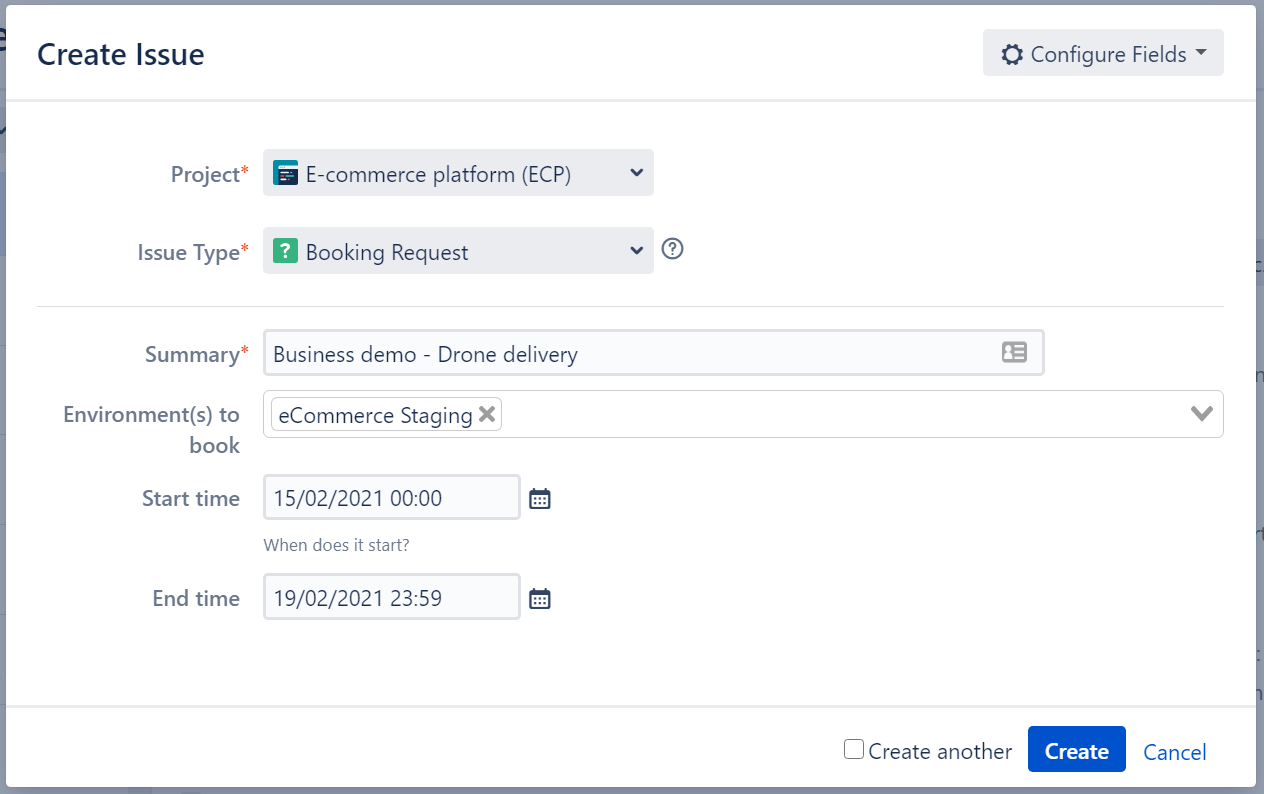
Test your Booking Request
From your Jira Project, create a new Booking Request and make sure it works. Adjust if needed.
STEP 6
Create a Booking Requests Calendar
Create a new Golive Timeline (more info: Designing Timelines)
Add a new Issue Calendar by typing “Booking Request” (or the name you choose for your Issue Type):
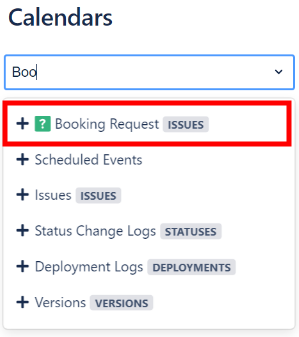
By default, all Calendar information should be there.
Double-check the fields mapping to make sure they are the Custom Fields you have created before.
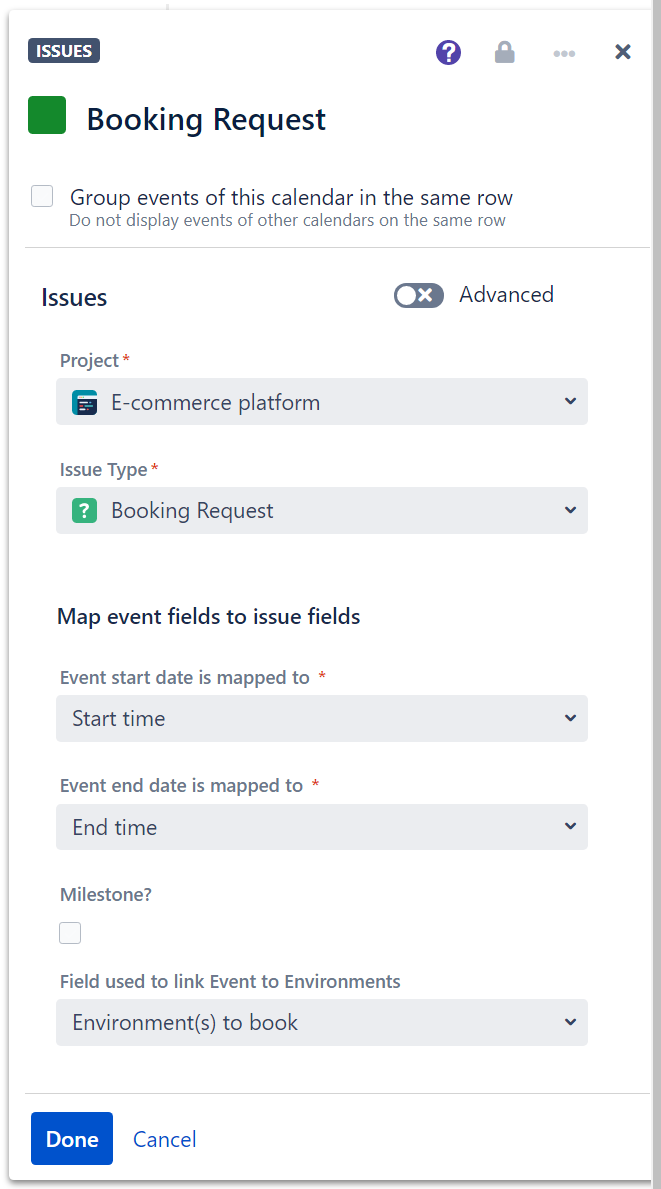
After clicking on “Done”, you should see the Booking Requests on your Timeline, with their statuses.
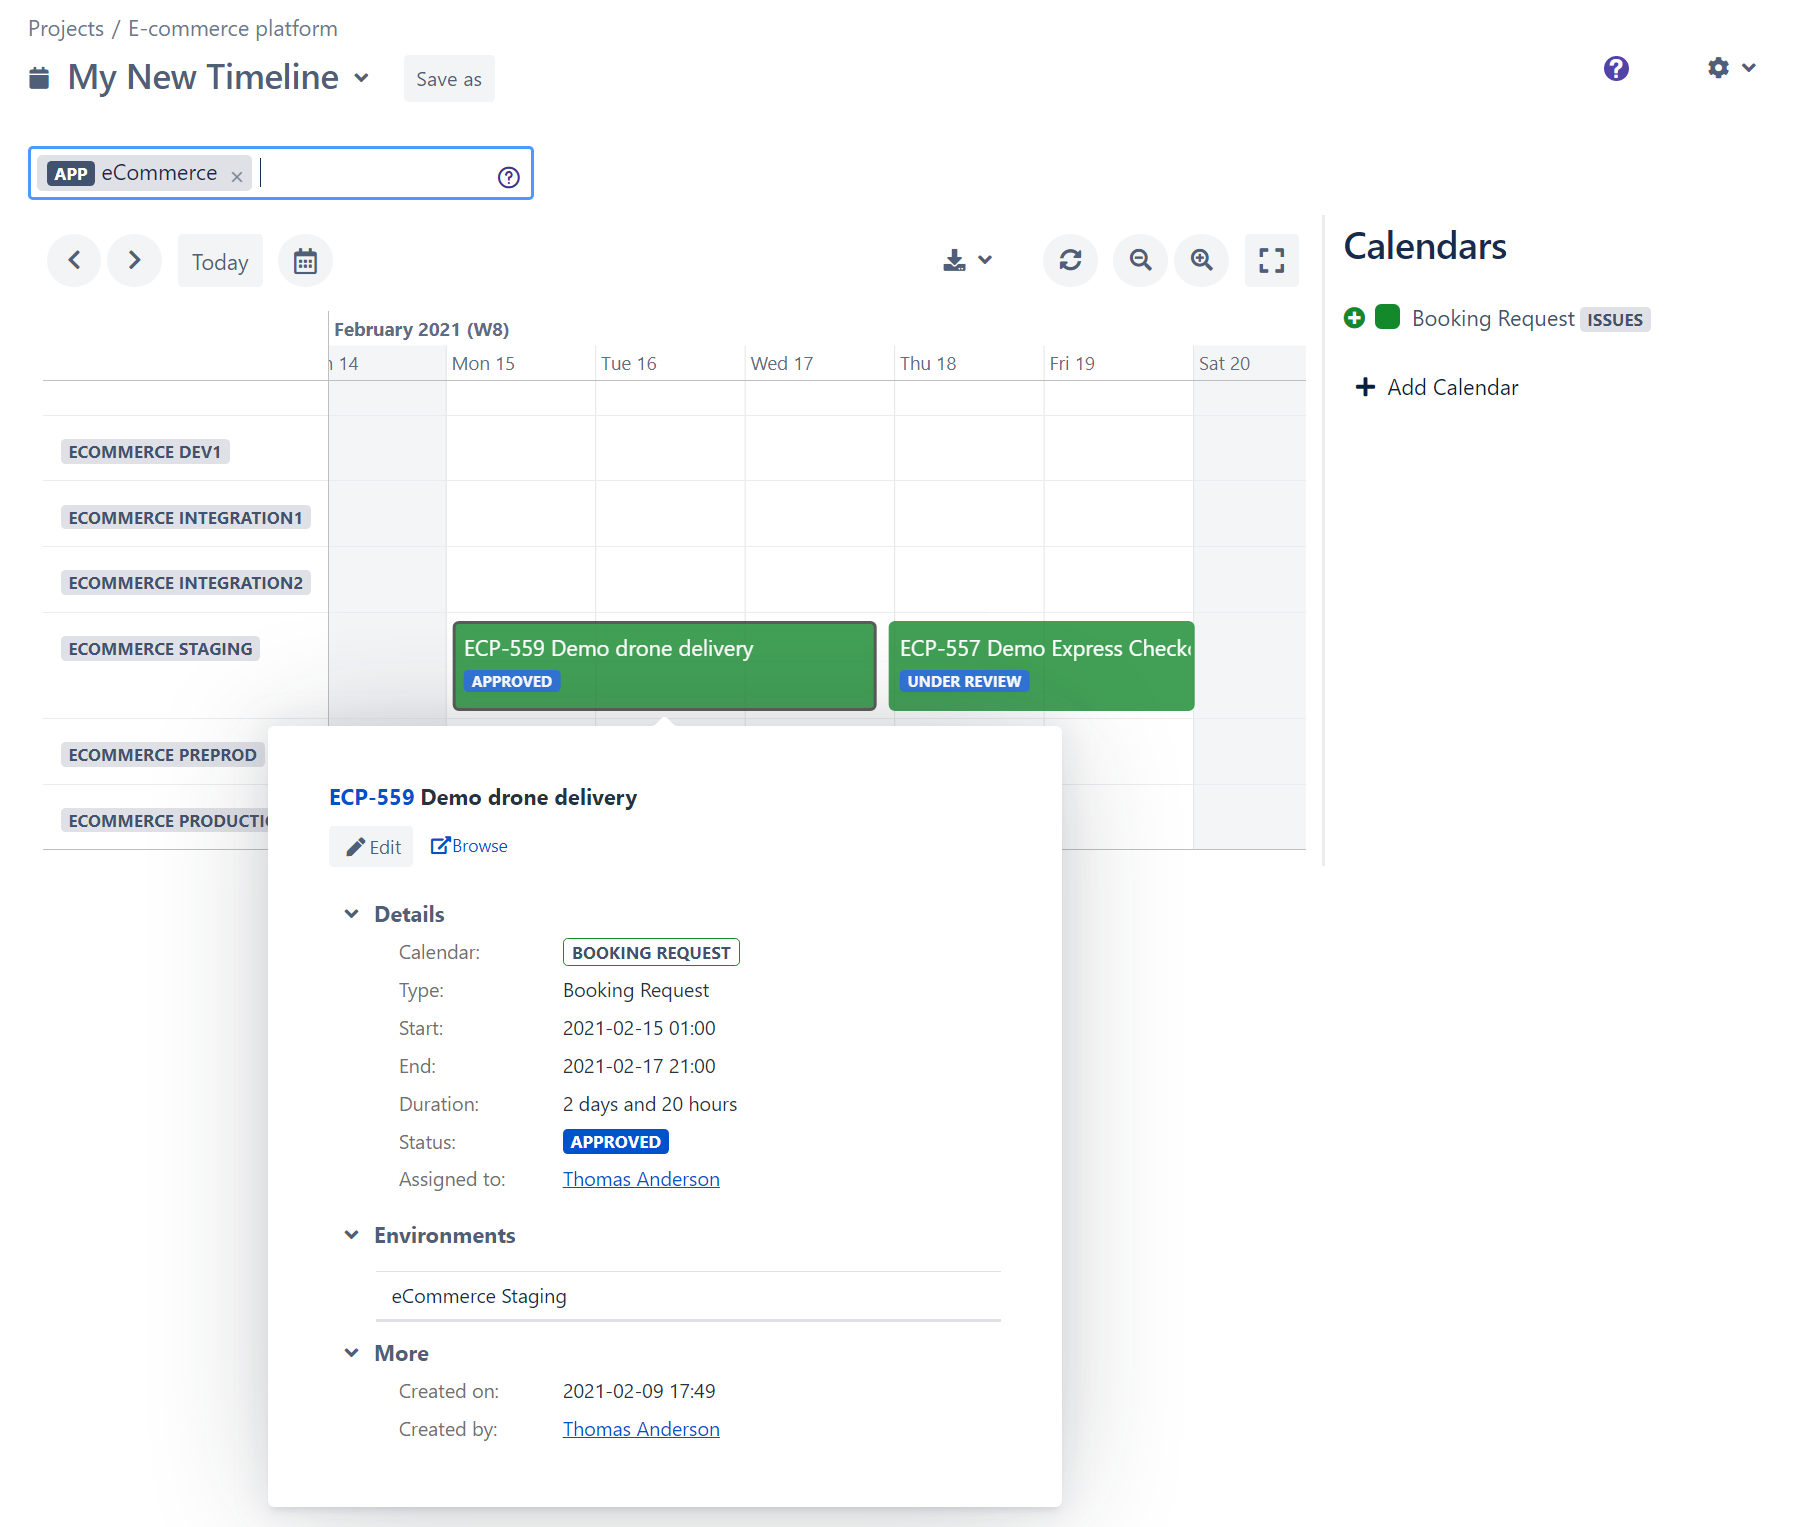
Conclusion
Congrats! Now you have a Calendar displaying your Booking Requests and their statuses.
You can reschedule your Booking Requests on the Timeline with drag-and-drop: the “Start time” and “End time” will be updated and the requester will be notified by Jira.
You can also move the Booking Requests from one Environment Swimlane to another in order to update the Environments booked by the request. Notification will also be sent to the requester.
To go further
Questions?
Jira is very powerful for its workflows, that’s why we have decided to rely on it for our Booking System, instead of implementing our own system. The setup may be a little complex for Jira beginners, that’s why we offer free assistance for this configuration.
If you need our help, contact us.