
This guide walks you through the basics of installing and configuring Golive Cloud. You’ll learn how to:
-
Install Golive
-
Use the Get Started wizard
-
Allow non-Jira admins to configure Golive
Install Golive Cloud
Requirements
Before proceeding with the Golive Cloud installation, ensure that you meet the following requirements:
-
A Jira Cloud site. If you don’t have one, create a new free Jira Cloud site.
-
Jira Administrator permissions on your site.
Info
For Jira Server or Data Center installations, refer to the Get Started for Data Center documentation.
Installation Steps
To install Golive Cloud, follow these steps:
-
Log into your Jira site using an administrator account.
-
Click the gear icon at the upper-right corner of the screen to access Settings.
-
From the drop-down menu, select Apps.
-
From the left menu, select Explore apps.
-
Under Explore apps for Jira, use the search bar to locate Golive | Release & Test Enviroment Management and select it.
-
Click Try it free at the upper-right corner of the screen.
-
Click Start free trial at the bottom-right corner and wait for the confirmation message.
Congratulations! You have successfully installed Golive Cloud on your Jira Cloud site.
Get Started with Golive
After installing Golive, the Get Started wizard will launch automatically. This wizard guides you through the initial setup to begin using Golive’s Environment orchestration features.
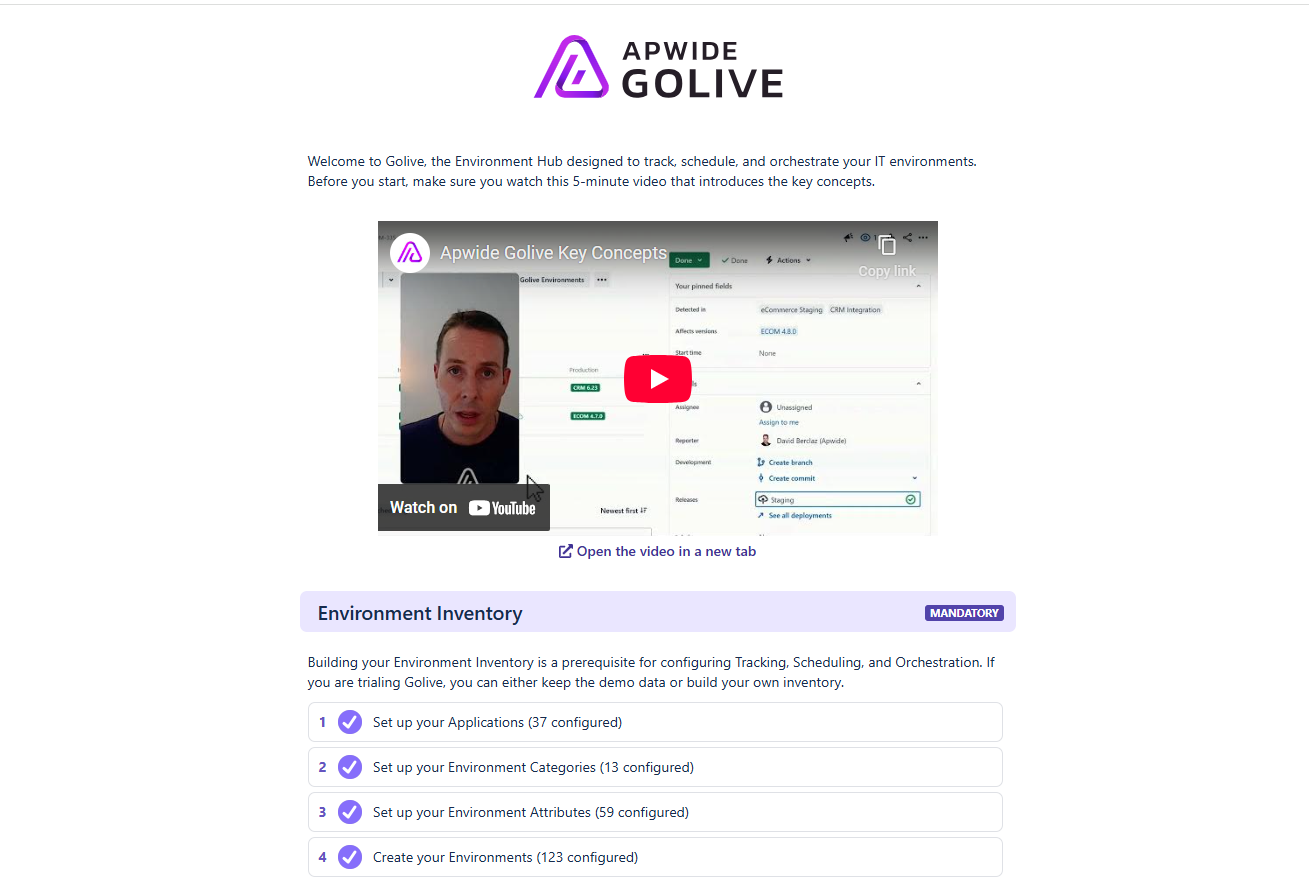
Info
Configuring the Environment Inventory is mandatory. All other steps are optional, giving you the flexibility to set up Golive based on your needs.
You can return to the Get Started at any time by clicking the widget in the bottom-right corner of any Golive page.
Allow Non-Jira Admins to Set Up Golive
By default, only Jira administrators can configure Golive. You can delegate setup permissions to other users by assigning them a role.
This is especially useful when the person who installed Golive is not the one responsible for configuring it.
Delegate Golive Setup to Non-Jira Administrators
-
Access Apps > Golive from the Jira menu.
-
Click the gear icon with a downward arrow located in the upper-right corner, below your avatar.
-
From the drop-down menu, select Golive Settings.
-
On the Golive Settings page, go to the Settings section and choose Permissions.
-
At the bottom left of the Global Permissions list, click Add Role.
-
Enter a descriptive name, such as "Golive Administrator."
-
Add the Golive Administrator permission.
-
Select Jira users or user groups for this role.
-
Click Create.
The selected users can now configure Golive without needing Jira administrator rights.